Wednesday, July 19, 2017

THE DANGEROUS WAY

It took an hour and 15 minutes to correct the wrongly sewed seams on the "raggy" quilt.  It had taken a long time to pick out all the seams with a stitch ripper after the first mistake.  After the next 5 strip sets were also wrong, I chose the dangerous way to remove stitches.

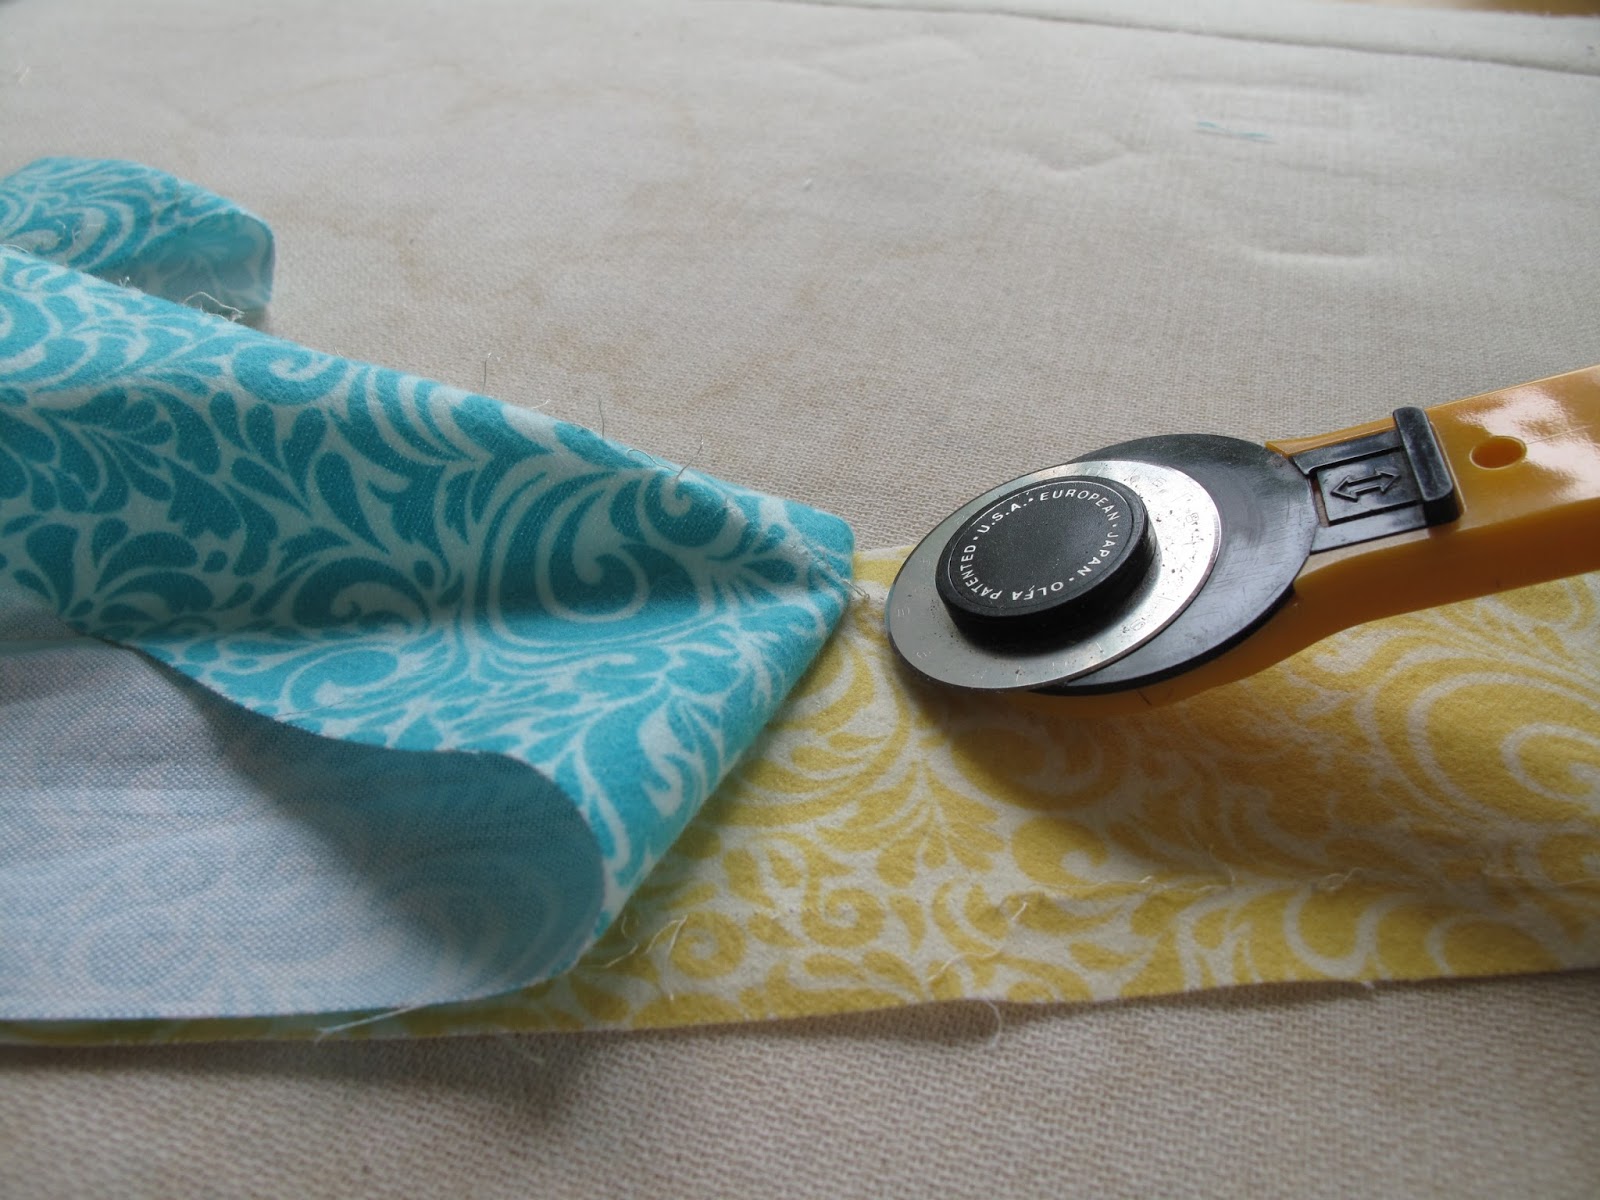
Start the seam ripping with a seam ripper.  When there is about 2" taken out, lift the top fabric, hold the bottom fabric taut and aim your rotary cutter at the stitches that are exposed.  Make little jabs at the exposed stitches with the open blade.  Just be very careful NOT TO JAB THE MATERIAL, or you will get a nice hole where the seam should be.  This is the fast way, and it is effective.

Then take a good pointy tweezers and remove the bits of thread left behind.
 

Now you're ready to cut the strip into the appropriately sized squares.  These are 7 and an 8th inches.  The 8th extra is just because that's how wide the strip set is vertically.  That's good, because they will be sewed together with 1/2" seams to provide a nice bit of "chenille" at the seam lines.

Tuesday, July 18, 2017

A REALLY BIG JOB!

Yesterday, because I had the time and the weather was right, I tackled redoing the surface of the balcony floor.  It's covered with Ducan decking, a vinyl sheet material.  At the beginning of the summer the floor needs to be scrubbed up well.  The vinyl decking has little bumps and divots in it, to give it texture, but they tend to fill up with dirt, and there's always lots of dirt flying around here--a combination of farmers tilling fields and winds from the west.

Once in a while it also needs to have a coating of "Refresh"--a kind of vinyl paint, as far as I can figure out.  It gives a good, fresh new surface to the decking.

So at 10:30 a.m. I started the scrubbing process: first wash with the power washer, then fill a bucket with "The Duke" a very strong cleaner (diluted 1- 10 with water), applied with a scrubbing brush.  Fortunately I have one with a "stand up" handle, so this doesn't need to be done on hands and knees.  But, OH, it's hard work!  It needs and really good, stiff scrubbing to loosen all the dirt.  And then that all gets power washed off, twice to get get rid of the cleaner.  That took until 1:00 p.m.  And then I was "washed up" myself--pretty well finished!

The Dear One very sweetly offered that we could either order take-out for dinner (2 p.m.) or go out to a local restaurant.  We did go out to Harvest House, where we ordered our favourites: his: lasagne, mine: chicken quesadilla.  Well, that was a treat, and perhaps, a deserved treat.  It was nice for both of us.

After eating he bought some broccoli for today's stir fry and went to get the mail, and I went to the Fabric Nook for some flannel for the latest quilt, the "raggy quilt" that I showed last time.  We came home and I relaxed with my library book for a few hours.

By 5:30 I thought maybe I could manage some more, and I mixed up the "ReFresh"--the kind of paint for the vinyl decking, and got to work again.  You're not supposed to use it when it's over 30ÂșC, and I'm pretty sure the decking itself was too hot, but I started anyway.  By 7:45 the painting was complete and I was "knackered."  I can't use a long handle with my paint roller because a handle broke off once in it.  I have to try to remove that bit so that I can screw in a handle, but just haven't done it yet or figured out if that's even possible.  So this was accomplished down on my hands and knees, and sometimes just squatting when my knees hurt too much from the bumpy surface.

Then I was really finished for the day.  It was hard to stand up straight!  I took another shower, poured myself a cold drink and "zoned out" until bedtime.  Fortunately I had a good 8 hours of sleep and, amazingly, today I don't feel any worse for the wear.  But I have taken a day off.

A friend dropped by for some help with her knitting and we had a nice visit.  Then I spent some time trying to figure out just how long it's been since I "refresh" the decking.  I think it's been three years.  Should be good for another three or four now.

Sunday, July 16, 2017

UNBELIEVABLY DUMB!!!

The newest quilt project (What? another?) is a raggy quilt in three bright colours of flannel.  It's a baby quilt for the daughter of my best friend.  She's expecting her second baby, and this quilt is very different from the one I made for her first baby a few years ago.

Out of the stash came these three nice flannels, cut into 3" strips, of approximately 36" each.  I sewed three strips together, pressed the seams and cut them into 7 1/4" squares.  That turned out very well.  This quilt is a "go."  BUT...because it's so ingrained in me to sew right sides together, that's what I did for the next four strip sets.  However, for a raggy quilt the seams must be WRONG sides together.  After all the seams are sewn you take a special scissors and snip all the seam allowances.  Then you throw the quilt into the wash machine and dryer and it comes out all fuzzy and smooshy.

I'll post some pictures of the process as the quilt is made.

After removing the 36" long seams in the four strip sets and resewing them with wrong sides together, I set them out on the floor in the rail fence pattern:
Then I sat down and sewed the remaining 5 strip sets, all three strips---RIGHT SIDES TOGETHER!!!  OUCH!  Now I have to sit down and pick out all those stitches, carefully remove the bits of thread that proliferate, and resew all 10 seams.

What can I say?  It's an easy mistake to make?

Saturday, July 8, 2017

THE THREE DAY WONDER

I'm calling this quilt the Three Day Wonder--it's real name is Picket Fence and the pattern was published in the November/December issue of QUILTMAKER magazine.  A woman I know was cleaning out her sewing room and came across several old quilting magazines which she passed on to me.  The Picket Fence quilt pattern caught my eye and I made one.

On Wednesday Brenda (of The Fabric Nook) and I were discussing putting on another "Demo Day."  We decided on the second week of September and the Picket Fence pattern.  I bought a 2 1/2" strip set to make a demo quilt to attract interest.

Thursday I was up early and devoted the extra day time to cutting out the quilt.  (See the last post).  Thursday I sewed pretty much all day, Friday a good part of the day, and today some of the afternoon.  The quilt top is complete!!!

The original pattern called for 3" strips, so I had to redesign for 2 1/2" strips.  That wasn't too hard, but of course the finished 3 x 4 block quilt is smaller.

This quilt used 18 of the 24 strips.  The others were too light to make the contrast.  The yellowy fabrics were left over from the large quilt I made two years ago that's on our bed in Arizona.  I like the combination.

For borders I'm thinking a 3/4" inner border of teal batik and a 2" outer border of the darkest fabric, with the same fabric for binding.  I'll have to see what's available.

This is a very easy quilt as there are really no points to match.  Each block was trimmed to a pretty precise 6 1/4".  If I had made "skinnier" seams they could have been 6 1/2" blocks.  That's trimmed, ready to go into the quilt, finishing at 6".  But I like to have fairly substantial seams to give the quilt strength.

It was also very easy to sew together because of the squaring up to 6 1/4".  There were no problems whatsoever.  I do like to "nest" all seams, and that turned out to mean that I couldn't "rosette" all the intersections, i.e. spread them open.  So I just pressed them all in the same direction, and the quilt top is quite smooth.  

I'm very happy with it, and had a very good time making it these last few days.

Friday, July 7, 2017

A SIGHT THAT WARMS MY HEART

This is what was up on my design board yesterday:

These are 2 1/2" x 5" pieces cut for a Picket Fence quilt.  There are 12 in each stack.  That's enough to make a 36" x 48" lap quilt.

The darks are from a strip set that I bought at The Fabric Nook on Wednesday.  The lights are leftovers from the Cascades quilt that I made two years ago.  That was a Lorraine Stangness pattern and she didn't have a kit for a queen or king-sized quilt, so I bought two kits for single bed quilts and enlarged the pattern.  It turned out really nice and is on the bed in Arizona.  There were lots of leftover fabrics from those two kits and these deep yellow/orange fabrics are just right for this Picket Fence quilt.

We had so much fun doing the "Demo Day" last week that we are planning another Demo Day for September.  We will be using the Picket Fence pattern for that, so this will be a sample quilt to (hopefully) spark interest in that demo.  More pictures as the quilt develops.

Saturday, July 1, 2017

FROM 9:30 TO 4

I worked on this quilt from 9:30 this morning to 4 this afternoon with a short time off for a bite of lunch.  The top is together!

Looking at it from two different angles, on the downstairs floor:


It makes me happy to have accomplished this today.

By the way, HAPPY BIRTHDAY, CANADA!!!  Happy Canada Day to all my friends and readers here and elsewhere!

AFTER A FINISH....

After a big project is completed, IF it has been a new project, the rule is: finish TWO old projects.  Why?  Because it's so much fun to start a new project, but the closet has MANY partly finished projects.  If the ratio is one new project finished to two old projects finished, there's the possibility (with lots of self-discipline) of someday actually reaching the point where the old projects have been completed.  I've never actually been there, but hold out the hope of getting to that point some day.

So, since the "Entwined" is almost complete--the binding needs to have the second half hand stitched to the back (after Shirley makes a label)-- I took out an unfinished projects from some time ago, maybe a year or so.  I'll have to check back in my photos for the dates.  

This is called "Trade Winds," a pattern that I bought some years ago on a shop hop with the quilt club.  Laid out here are three rows sewed together, on the left, and two rows sewed together on the right.

This section is also two rows sewed together.  When these three sections are sewed together the quilt will be six 15" blocks by seven 15" blocks.  The pattern called for six blocks by six blocks for a king size, but I was ambitious enough to decide that six by seven would be better.  It's enormous.


I made a large lap quilt from this pattern but that hasn't been claimed yet.  Making the blocks is not hard, but sewing them together is!  There is a killer intersection where you have four parts meeting, and each of the four has five layers of fabric!  And the sticker is that the intersection forms the heart of a pinwheel, and is therefore VERY NOTICEABLE!

At 9 a.m. I started working on this.  I had a block to add to the bottom of each row, and then began sewing the last two rows together.  Thirteen seams later I'm ready for a break!